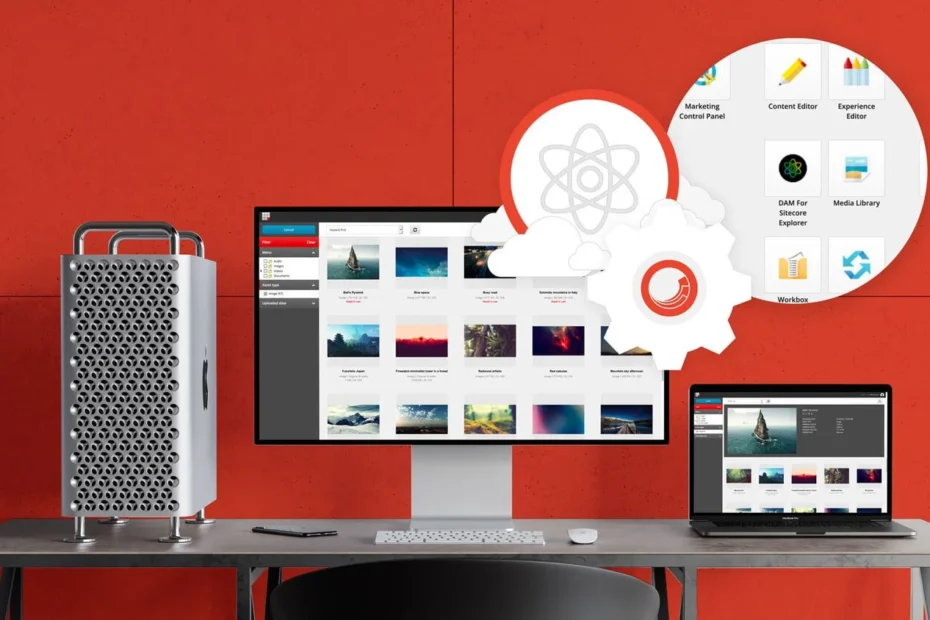
Setting up a Sitecore development environment is a crucial step in developing web applications using this powerful content management system. Sitecore offers a full suite of digital marketing tools and capabilities, allowing businesses to create stunning websites and experiences for their customers. However, getting started with Sitecore can be daunting, especially if you are not familiar with the technology. In this article, we will look at how to set up a Sitecore development environment so that you can begin creating amazing websites with the platform. We’ll cover everything from installing the necessary software to configuring the virtual environment and running your first project on Sitecore.
What is Sitecore?
Sitecore is a web content management system (CMS) and experience platform that enables you to create and manage your digital customer experiences. With Sitecore, you can deliver personalized content in real time and across multiple channels. Sitecore’s powerful marketing features give you the ability to track, analyze, and engage with your customers throughout their journey.
Setting up the Development Environment
Assuming you will be developing on a Windows machine, the first thing you need to do is install IIS and .NET Framework 4.5.2. Next, install Microsoft SQL Server 2012 or later. Sitecore 8.1 requires at least SQL Server 2012 Service Pack 1 Cumulative Update 2.
After that, you need to download and extract the Sitecore installation files from https://dev.sitecore.net/. The recommended approach is to use the Sitecore Install Framework (SIF), which can be found in the installation package under \Website\Website_files\InstallFramework.
Once SIF is installed, you can use it to set up a clean Sitecore development environment by running the following command:
- Install-SitecoreConfiguration -Path .\configs\ sitecore-XP0.json
- This will install Solr for search and indexing, as well as create a new Sitecore instance on your local machine.
Creating a Sitecore Solution
In this section, we’ll cover the basics of creating a new Sitecore solution. We’ll assume that you’re using Visual Studio 2017 and sitecore-9.0.1.
First, open Visual Studio and create a new ASP.NET Web Application project. Name it whatever you like; we’ll call ours “MySitecoreSolution.”
Next, open the Package Manager Console and enter the following command:
- Install-Package Sitecore.HabitatHome -Version 1.9.0
- This will add all of the necessary Sitecore assemblies to your project.
- Now that you have a basic solution set up, let’s add some content! Create a new folder in your project called “Items.” Then, add a new item to that folder called “Home.”
- Right-click on the Home item and select “Edit with Options.” In the resulting dialog box, select “Raw values” from the left-hand side and then enter the following values:
- { “__Editor”: “Rich Text”, “__Help”: “
- The home page for our website.
- “, “__Icon”: “/sitecore/shell/themes/standard/Images/itemtypes_32x32.png”, “__Sortorder”: “1”, “ContentHeading”: { “$(raw):encoded:” },
Adding Items and Templates
When creating a new Sitecore project, there are a few items and templates that need to be added in order for the site to function properly. These include:
- The Sitecore Item Template
- The Sitecore Empty Item Template
- TheSitecore Standard Values Item Template
- The Sitecore Branch Template
To add these items and templates, follow these steps:
- Log in to the Sitecore client.
- In the Content Editor, click the Home tab, then click the Sites folder.
- In the Sites folder, right-click the site where you want to add items and templates, then click Insert from
- Template. The Insert From Template dialog box appears. If necessary, click the Templates tab.
In the list of available templates, double-click each template that you want to insert into your site:- The Sitecore Item Template inserts a new item based on the predefined structure of a sample item included with Sitecore. This template is located in /sitecore/templates/System/Templates/Sample Items/.
- The Sitecore Empty Item Template inserts an empty item into your site. This template is located in /sitecore/templates/System/Templates/.
- TheSitecore Standard Values Item Template sets default values for fields on items based on this template. This template is located in /sitecore/templates/System/Templates/.
- Click
Testing the Sitecore Solution
Before we get started with developing our Sitecore solution, we need to test it to make sure it works as expected. To do this, we’ll create a new Sitecore instance and install our solution on it.
Once our solution is installed, we’ll need to create some content in Sitecore. This will help us test the different features of our solution. We’ll also need to set up a few items in Sitecore so that we can test the functionality of our solution.
Once our content is created, we can start testing our solution. We’ll need to test each feature of our solution to make sure it works as expected. We might also need to perform some load testing to make sure our solution can handle large amounts of traffic.
After our solution has been thoroughly tested, we can then move on to developing it further.
Conclusion
Setting up a Sitecore development environment can be a daunting task, but with the right resources and guidance it can be done fairly easily. By following this guide you should now have an understanding of how to install and configure your own environment, as well as understand best practices when it comes to using Sitecore. With this knowledge in hand, you are now ready to start developing amazing websites with Sitecore!
